Parts List:
Hobie OEM Plug
Watersnake ASP T24 Trolling Motor
Seadog 1" Rail Fitting 90-D
4 - SS Pan Head 1/4"x1" Self Tapping Screws
2 - SS Pan Head #10x1/2" Self Tapping Screws
Small Tube Marine Silicone (Boatlife)
3 - Ancor Heat Shrink Butt Connectors 14-16 Gauge (blue)
Tools: drill, drill bits, various screw drives, wire strippers, heat gun
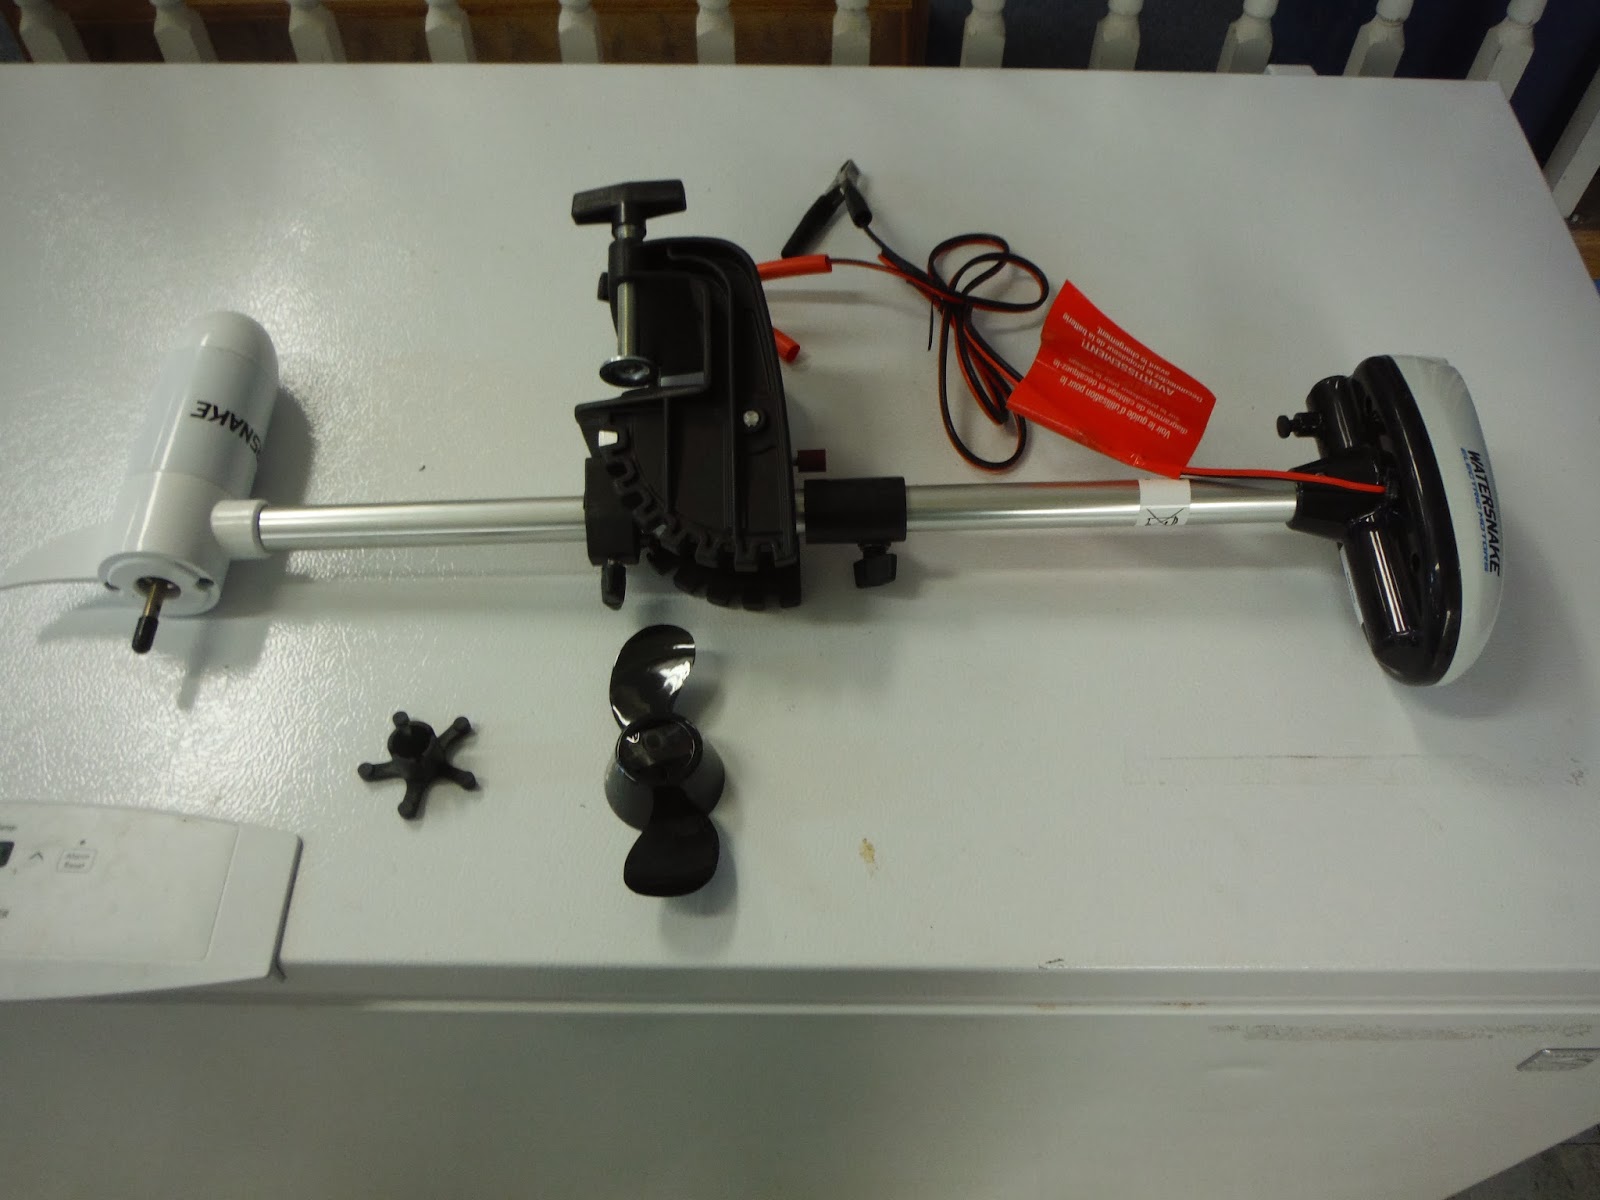
Trolling motor straight out of the box

Assembled motor

I started by unscrewing the 4 screws holding the handle assembly together

Removed terminals and made not of their proper location. Also cut the alligator clips off

Complete motor disassembled with transom bracket removed. Ready to be measured and cut.


1" hole cut on the top and bottom of the Hobie plug

Test fit

Plug filled with waterproof foam for strength. The foam takes 12 hours to fully cure. I am leaving it 24 hours to be safe.
Well the foam I used didn't cure inside the plug. When I went to drill the hole out it was just mush inside and got all over everything. I had to wipe down everything with acetone and clean it all up. So I did not go with foam.

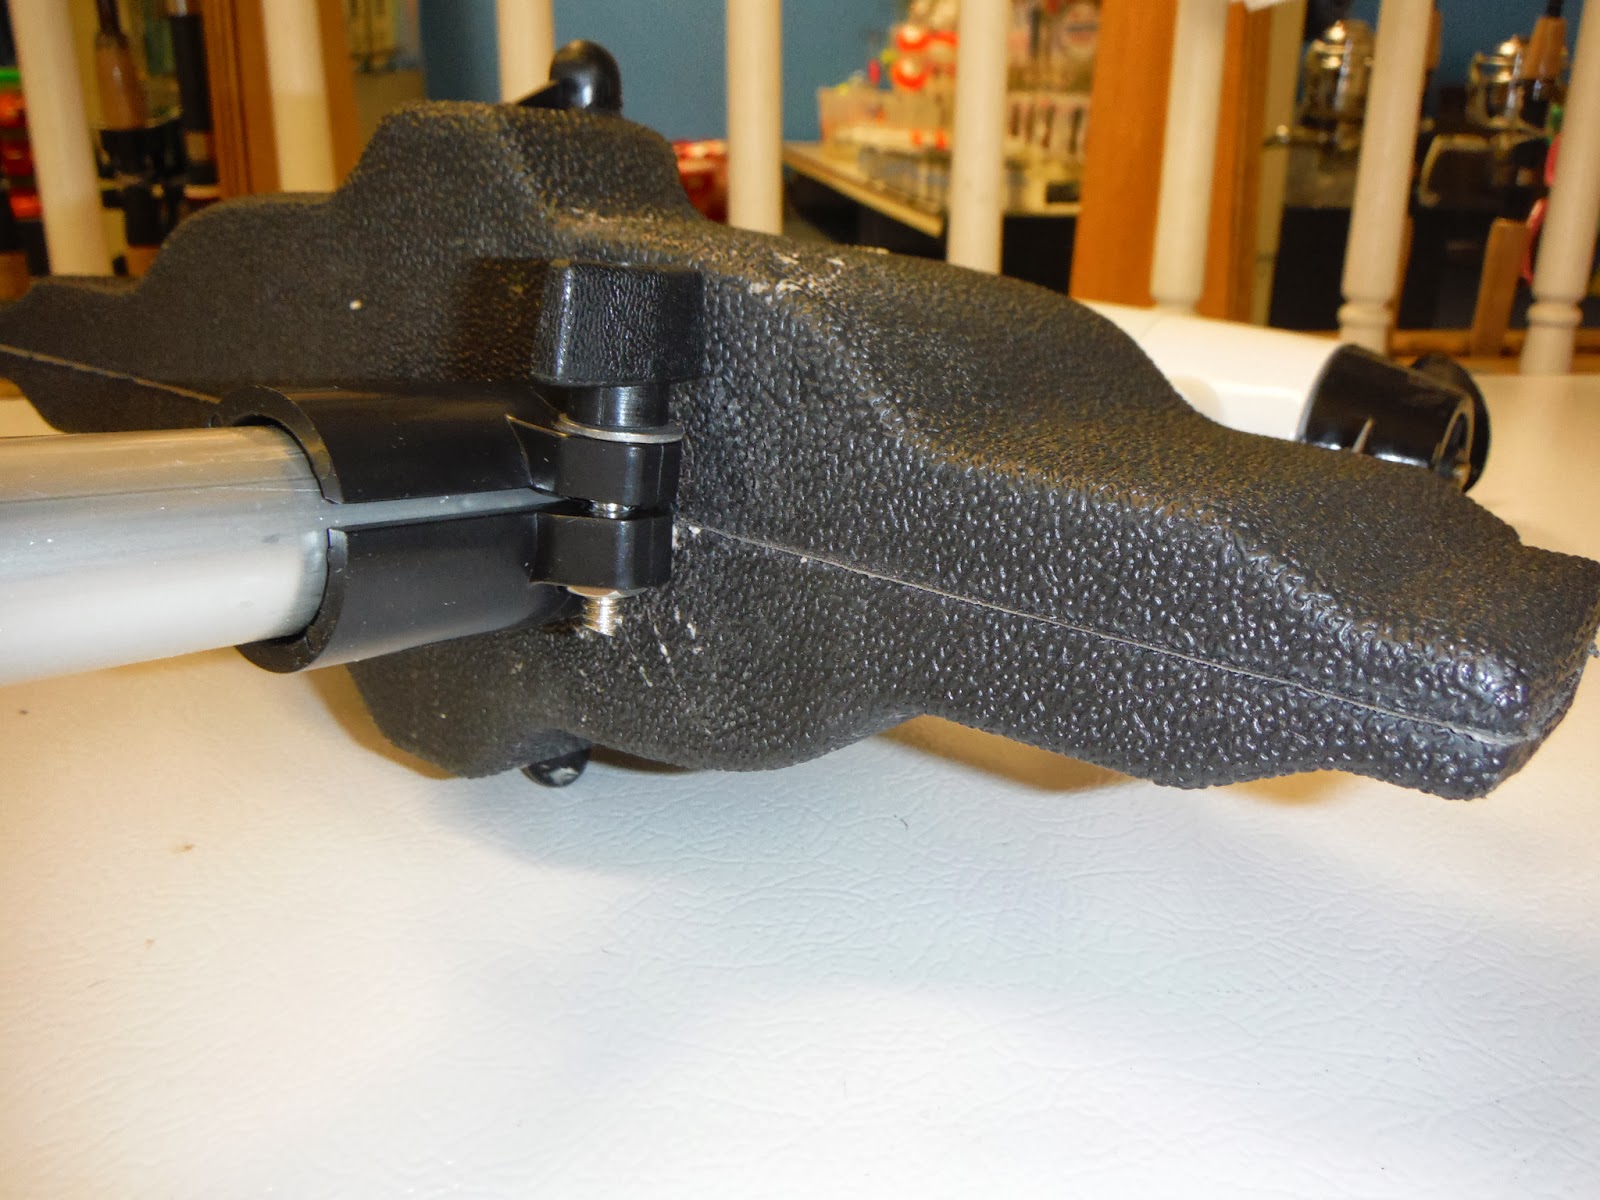
I used a SeaDog 1" Deck Fitting for a boat railing I had on the shelf at the shop. It fits perfectly in the plug and the tube fits right in it. I measured and marked the location and used the set screws to hold the tube and keep it from sliding and twisting in the plug. It also gave the whole assembly a lot more supports because it hold the tube a few inches up into the plug. Cost is around $12 bucks or so. If you cannot find one message me and I can get you one.

Fitting installed on the tube and pushed into the hole in the plug. Held in place with four 1/4" x 1" SS Self Tapping screws. I also added a bead of marine silicone between the fitting and plug.

Test fit into the Mirage Drive Hole


I reused the clamp that came with the motor to support the top of the shaft. I also cut the tube down a total of 9" from the top.


Cut wires to length and crimped on Ancor heat shrink connectors. They shrink and are adhesive lined. If you cannot find them let me know and I can get them for you.

Crimped connectors

Heat shrunk

Completed motor.


Motor is complete. Now for some testing for best location of the battery. Once I get that installed I will post the pics and steps. As soon as I get a test run I will get some stats and videos up of the motor in action.
Any questions feel free to post them in the comments here and I will answer them.
More to follow. Please check back and subscribe via email on the top right of this page.
Does it slide in or do u have to maneuver it in
ReplyDeleteHi all!
ReplyDeleteMy name is Tony Long, I am a worker. I had a terrible problem with my Best Trolling Motor Battery, thank for share this article. It is helpful for me, see the same at: Best Trolling Motor Battery
Are u selling these motors
ReplyDeleteAre u selling these motors
ReplyDelete